What to Do If You Drop Your Phone in Water?

It’s every smartphone user’s nightmare: your phone slips out of your hand and falls into water. Whether it’s a sink, toilet, or pool, the immediate panic sets in. Don’t worry! There are steps you can take to try and save your phone. In this guide, we’ll walk you through what to do if you drop your phone in water, helping you act fast and hopefully avoid costly repairs or replacements.
Step-by-Step Guide to Save Your Phone
If your phone lands in water, the first thing you should do is stay calm. Time is crucial, and the faster you act, the better the chances of saving your device.
Step 1: Remove Your Phone from Water Immediately
The first and most critical action is to get your phone out of the water as quickly as possible. The longer it stays submerged, the more water can seep into the device, potentially causing irreparable damage.
- Don’t waste time looking for the power button or checking the screen.
- Immediately remove your phone and turn it off if possible.
Step 2: Power Off Your Device
Once you have your phone out of the water, turn it off. This is crucial to prevent any electrical short circuits. If your phone is already off, resist the urge to turn it on to see if it’s still working. Powering on a wet phone could cause a short circuit and damage internal components.
Step 3: Dry the Exterior of Your Phone
Next, use a soft, dry cloth or towel to gently blot off any excess water on the exterior. Be thorough, but don’t press too hard, as this can push water into the phone’s ports. Pay special attention to the headphone jack, charging port, and speakers.
Step 4: Remove the SIM Card and SD Card

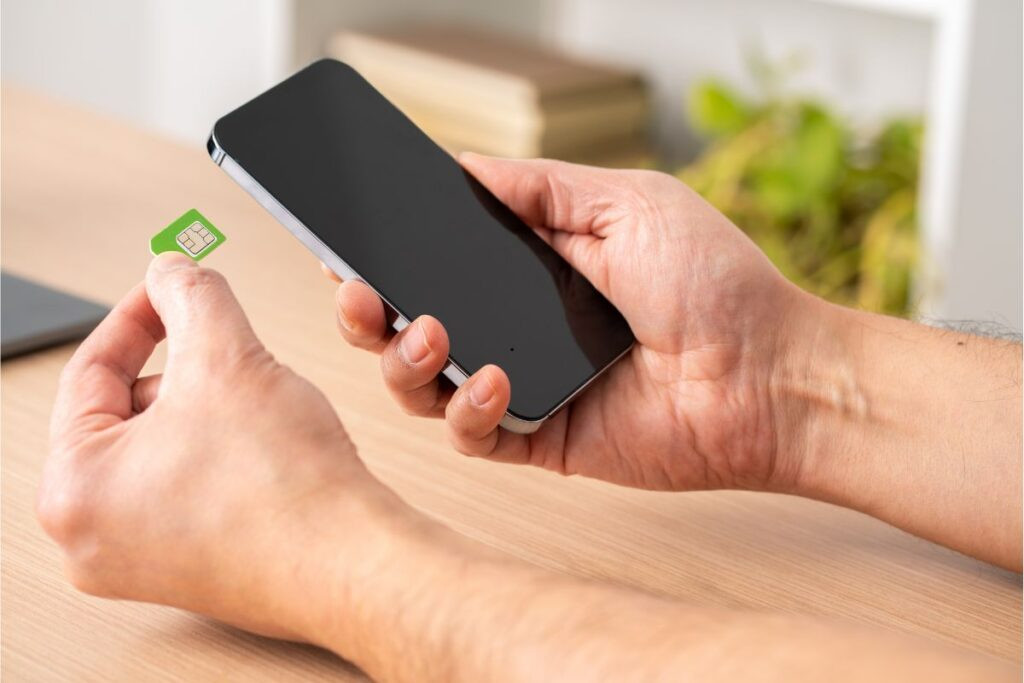
If your phone has a removable SIM card and/or SD card, take them out immediately. These cards are vulnerable to water damage and should be dried separately. This step helps protect your personal data and allows better airflow to dry out the phone.
Step 5: Place Your Phone in a Drying Agent
Now it’s time to get your phone as dry as possible from the inside. The best way to do this is by using silica gel packets or uncooked rice. These substances help absorb the moisture trapped in your phone.
Option 1: Silica Gel Packets
If you have access to silica gel packets (the ones that come with shoes or bags), place your phone in a sealed container with a handful of these packets. Silica gel is designed to absorb moisture efficiently.
Option 2: Rice Method (If No Silica Gel Available)
If you don’t have silica gel, placing your phone in a container of uncooked rice can work as a substitute. Be sure to completely cover the phone with rice, sealing the container tightly to create a moisture-absorbing environment.
Step 6: Let It Dry for 24 to 48 Hours
Leave your phone in the drying agent for 24 to 48 hours. During this time, resist the temptation to turn it on. The drying process takes time, and prematurely powering on your phone may cause more harm than good.
Step 7: Check for Water Damage
After you’ve let the phone dry for at least 24 hours, it’s time to check for any signs of damage.
- Examine the screen: Does it flicker or stay blank? If it’s working, you’re in good shape.
- Check for sound issues: Play a sound to check the speakers.
- Inspect the charging port and buttons: Make sure there are no issues when trying to charge or press buttons.
What to Do If Your Phone Doesn’t Turn On
If your phone doesn’t turn on after drying, there are still a few steps you can take.
Step 1: Try to Charge It
Plug your phone into its charger and see if it responds. If the phone was not powered on when submerged, it might not have any visible signs of damage and could start charging again once dried out.
Step 2: Seek Professional Help
If your phone still won’t turn on or shows signs of malfunction, it’s time to take it to a professional repair service. A technician can carefully open your phone, clean the internal components, and perform necessary repairs.
How to Prevent Water Damage in the Future
While accidents happen, you can take steps to prevent water damage in the future.
1. Invest in a Waterproof Case
A waterproof case is one of the best ways to protect your phone from water damage. These cases provide a tight seal and prevent water from reaching your device.
2. Use Screen Protectors with Water Resistance

Some screen protectors come with water resistance features, adding an extra layer of protection against accidental spills or splashes.
3. Avoid Using Your Phone Near Water
This may seem like a no-brainer, but try to avoid using your phone near water. If you’re near a pool, sink, or beach, it’s always a good idea to keep your phone in a waterproof pouch or case.
Pros and Cons of the DIY Water Recovery Method
Pros:
- Saves money compared to professional repairs.
- Quick and easy steps to follow.
- Effective for minor water exposure if caught early.
Cons:
- It may not work for severe water damage.
- Risk of further damage if not done correctly.
- Takes time for the phone to dry completely.
Frequently Asked Questions (FAQs)
1. Can I use a blow dryer to dry my phone?
It’s not recommended to use a blow dryer, as the heat can damage your phone’s internal components. Instead, use a soft cloth and air dry or use silica gel packets.
2. What should I do if my phone is submerged in saltwater?
Saltwater is much more damaging than freshwater. Immediately rinse your phone with fresh water (if possible) to remove any salt residue, then follow the drying steps.
3. Does putting my phone in rice actually work?
Rice can absorb moisture, but it’s not the most effective solution. Silica gel packets are better at absorbing moisture and don’t leave any particles behind.
4. How long should I wait before checking my phone after dropping it in water?
Wait at least 24 hours before attempting to turn on your phone. This allows sufficient time for moisture to be absorbed and evaporated
5. Will insurance cover water damage?
It depends on your phone’s warranty or insurance policy. Some warranties cover water damage, but others do not. Check with your provider for details.
Conclusion
Accidentally dropping your phone in water can be stressful, but acting fast can help save your device. By following the steps outlined above, you can increase the chances of recovery and minimise damage. While not every water-damaged phone can be saved, these actions are your best bet. If your phone still isn’t working after following these steps, don’t hesitate to seek professional repair assistance.
Also Read: How to Clear Cache on MacBook Air in a Simple Way

Similar Posts
Does HQPotner Truly Simplify Business Operations?
WordPress Themes Selection Guide: Choose the Right One for Your Website
iPolish Smart Nails at CES 2026: What the Technology Really Tells Us About the Future of Beauty Tech